|
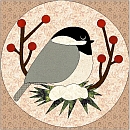
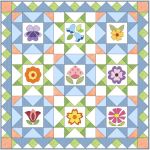
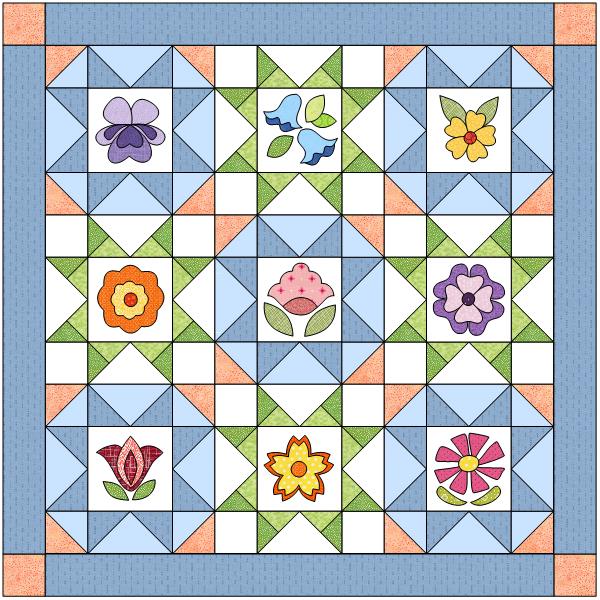
The Posy Stars Quilt is Jeanne Rae Crafts' Block of the Month project for 2021. The Posy Stars Quilt features appliqued flowers in pieced star blocks. I think of all of my quilting friends as stars so this is dedicated to all of you!
We've featured a BOM project every year since 1998, making this project our 24th! Come back monthly for each succeeding step. TThe Posy Stars Quilt features appliqued flowers in pieced star blocks.
The 12 steps to making the blocks will be introduced throughout the year with the finishing directions also included. This quilt can be made with coordinating fabrics, or each block could have its own color scheme using scraps or fat quarters. Whichever you choose, the stars will glow as a wall hanging or baby quilt. Add one more row of flowers and stars to make a throw size quilt.
|
Fabrics needed:
You’ll need a light and a dark in 2 different colors, plus background and a contrast.
- 1 yd. background (white)
- ½ yd. light 1 (lt. blue)
- ¾ yd. dark 1 (dk. blue)
- ⅜ yd. light 2 (lt. green)
- 1/4 yd. or fat quarter dark 2 (dk. green)
- 1/4 yd. or fat quarter contrast (orange)
- Variety of fat quarters or scraps for flower and leaf colors
- 1/2 yd. binding
- 45-50” sq. batting
- 2½ yd. backing
|
Posy Stars Quilt Blocks
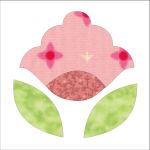
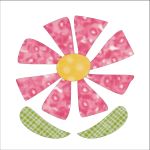
1. Peony

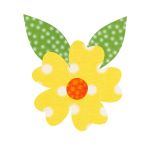
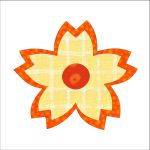
2. Pansy
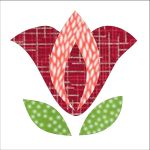
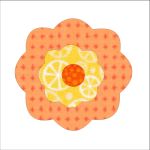
3. Tulip
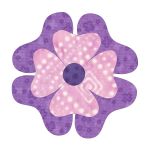
4. Mum
5. Marigold
6. Zinnia
|
Posy Stars Quilt Blocks
7. Hibiscus
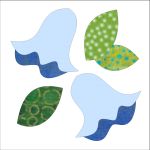
8. Bellflower
9. Cosmos
10. Star 1

11. Star 2
12. Finishing
|
Directions
Cut 9 squares from background approx. 7½” x 7½” for all applique squares. Patterns are designed for raw-edge applique using fusible web to adhere designs to the background fabric. Secure the appliqué edges with straight stitch, zigzag, satin stitch, blanket stitch, or any other stitch that secures the edge. After appliquéing, trim square to 6½” x 6½”.
|
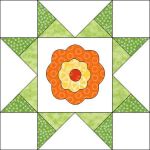
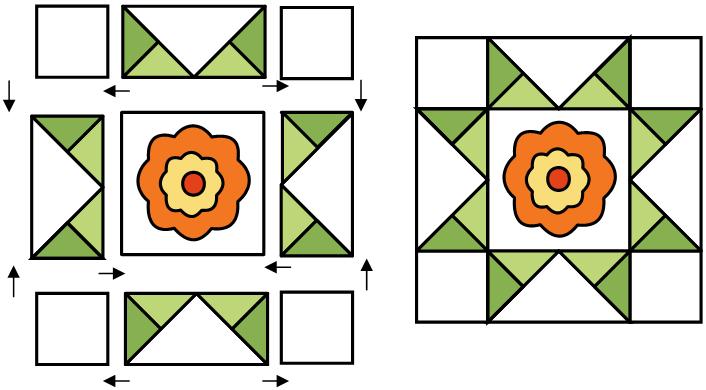
Star 1 - Make 4 with appliquéd flower blocks for the centers
Cutting for each Star 1:
- Background - 4 - 3½” x 3½”
- Background - 1 - 7¼” x 7¼”; cut diagonally twice to make 4 triangles
- Light green - 2 - 4¼” x 4¼”; cut diagonally twice to make 8 triangles
- Dark green - 2 - 4¼” x 4¼”; cut diagonally twice to make 8 triangles
- Appliquéd block trimmed to 6½” x 6½”
Directions:
- With right sides together, stitch a light green to a dark green triangle. Make 4, then make 4 of the colors reversed. The tiny arrow indicates in which direction to press the seam.
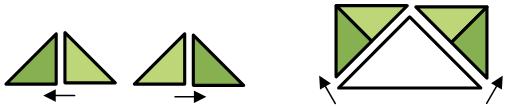
- Stitch the light/dark green triangles to the large background triangle.
- Assemble the nine patch first into rows of 3, then stitch the rows together to complete
|
Star 2 - Make 5 with appliquéd flower blocks for the centers
Cutting for each Star 2:
- Contrast (lt. orange) - 2 - 3⅞” x 3⅞”; cut diagonally to make 4 triangles
- Light blue - 2 - 3⅞” x 3⅞”; cut diagonally to make 4 triangles
- Light blue - 1 - 7¼” x 7¼”; cut diagonally twice to make 4 triangles
- Dark Blue - 4 - 3⅞” x 3⅞”; cut diagonally to make 8 triangles
- Appliquéd block trimmed to 6½” x 6½”
Directions:
- With right sides together, stitch a small light blue triangle to an orange triangle. Make 4. The tiny arrow indicates in which direction to press the seam.
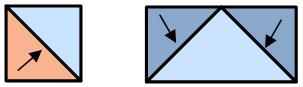
- Stitch the dark blue triangles to the large light blue triangle. Make 4.
- Assemble the nine patch first into rows of 3, then stitch the rows together to complete.

- Once you have all four of Star 1 and five of Star 2 completed, stitch together as you would a 9-patch, with Star 2 in the corners and the center.
|
========================================
Finishing - 3’ Border
Cutting for the border:
- Background - 12 - 4¼” x 4¼”; cut in half diagonally twice to make 48 triangles
- Contrast (lt. orange) - 4 - 3½” x 3½” for cornerstones
- Dark Blue - 6 - 7¼” x 7¼”; cut diagonally twice to make 24 triangles
- Light green - 2 - 4¼” x 4¼”; cut in half diagonally twice to make 8 triangles
- Light green - 20 - 2⅝” x 2⅝”
Cutting for binding:
- Binding fabric - 5 strips - 2¼” x WOF (cut 2½” strips if preferred)
Directions:
- With right sides together, stitch together the green and white triangles. Make 4 of each combination.

- Stitch 2 white triangles to each green square. Make 20.

- Make 4 border units which include units from Step 1, Step 2, and the blue triangles, as illustrated.


- Stitch a border unit to two opposite of the quilt center.
- Add a cornerstone to each end of the two remaining border units; stitch to the top and bottom of the quilt center to complete the top.


- Layer the top with batting and backing. Quilt as desired and bind.
Optional border
If you would prefer a plain border rather than pieced:
- Contrast (lt. orange) - cut 4 - 3½” x 3½” for cornerstones
- Preferred border color - cut 4 - 3½” x 36½” (approximate; make sure to measure the width and length of the quilt center before cutting the exact length of border piece).
|
Please note:- This project will be available all through 2021.
- These patterns are for personal use only
. Any other use requires express written permission by the designer. - All designs ©2021 Jeanne R. Prue, all rights reserved.
- The information on this site is presented in good faith, but no warranty is given nor results guaranteed.
|

|